
SETUP GUIDE
Step-by-Step Guide CopyX, TagMarkets & Sonic
Thirteen steps, from creating your account to connecting copy trading, withdrawing your profit and topping up your card through EpixPay.
Register on CopyX
CopyXClick your sponsor's referral link (partner or Smart Funnel link) and fill in all the required fields.
You can find your personal partner link at:
https://copyxapp.com/profile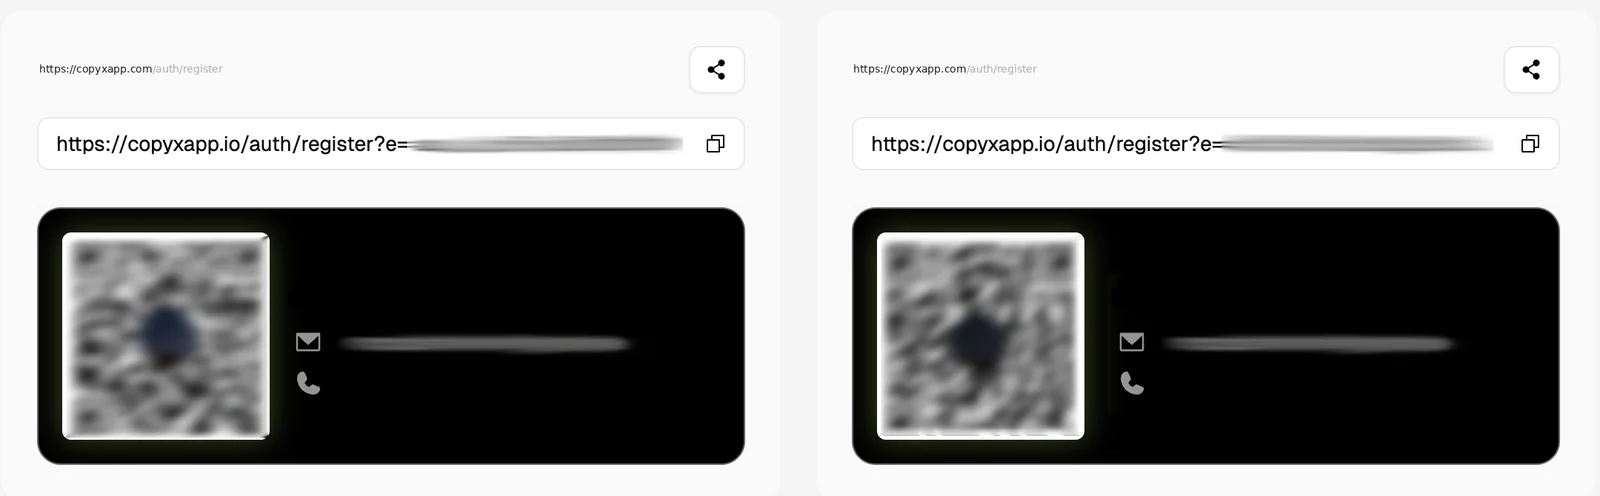
Confirm your e-mail
CopyX- You will receive a confirmation e-mail from CopyX.
- Open the e-mail and click “Verify your Email” to activate your account.
Log in to CopyX
CopyXOnce your e-mail has been confirmed, log in using your credentials:
https://copyxapp.com/Connect to TAG Markets
TAG Markets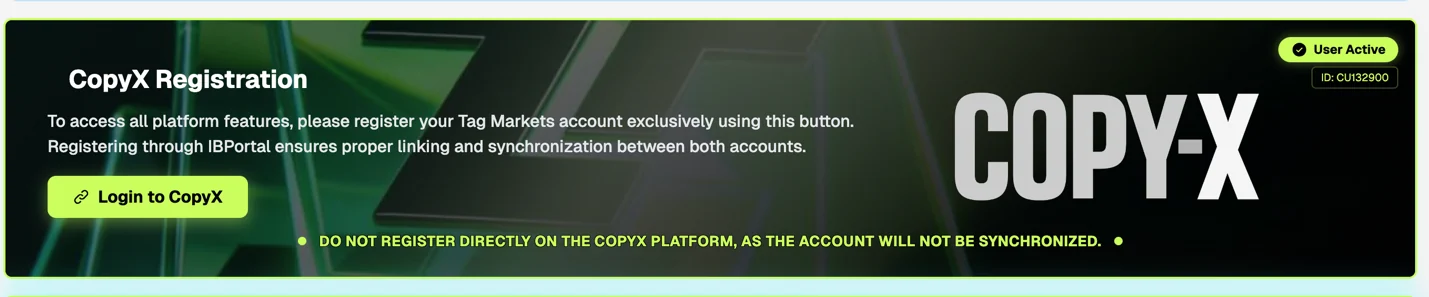
- After logging in, scroll down a little to the “CopyX Registration” section.
- Click “Register at CopyX / TAG Markets”.
- Enter your password again and click “Sync Account”.
Do not register directly on the CopyX platform, as the account will not be synchronised.
Confirm your TAG Markets e-mail
TAG Markets- You will receive another e-mail from TAG Markets.
- Click “Confirm your Email” to activate your broker account.
Log in to TAG Markets
TAG MarketsLog in to your TAG Markets account:
https://portal.tagmarkets.com- Fill in the requested financial information.
- Then click “Submit”.
Verification (KYC)
TAG Markets- Click “Upload your Documents”.
- Upload your ID document and complete the verification process.
Deposit
TAG Markets- Click “Deposit”.
- Choose the amount you want to deposit.
- Choose your preferred payment method: cryptocurrency, Visa / Mastercard, bank transfer.
Deposits via Visa or Mastercard carry a 6 % fee. For this reason, depositing with cryptocurrency is preferred. If you have any questions about crypto, we are happy to help.
Connect Copy Trading with SONIC
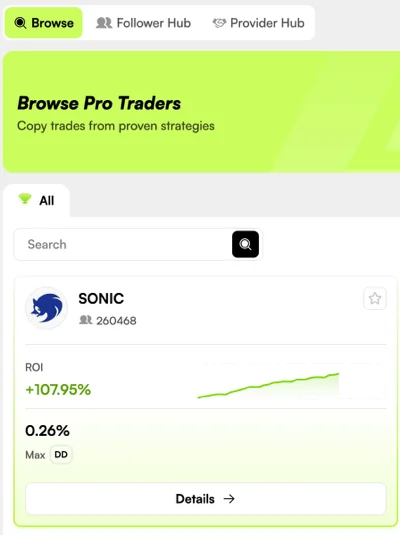
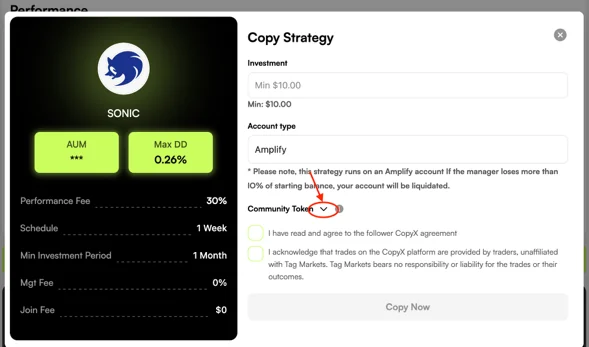
Sonic- Go to the “CopyX” section.
- Select the “SONIC” strategy.
- Click “Connect”.
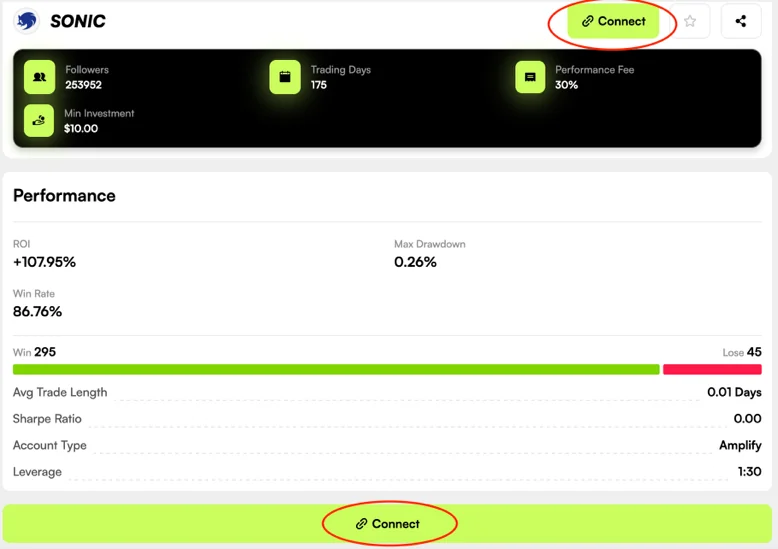
IMPORTANT
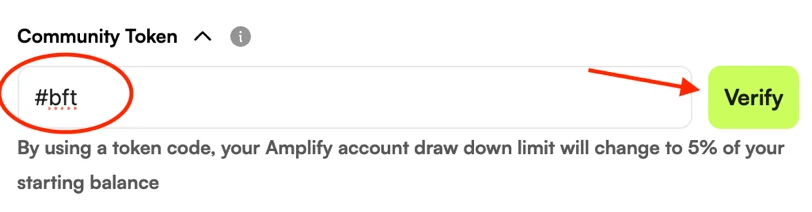
- Click the small black arrow next to “Community Token”.
- Enter the following code: #bft
- Then click “Verify”.
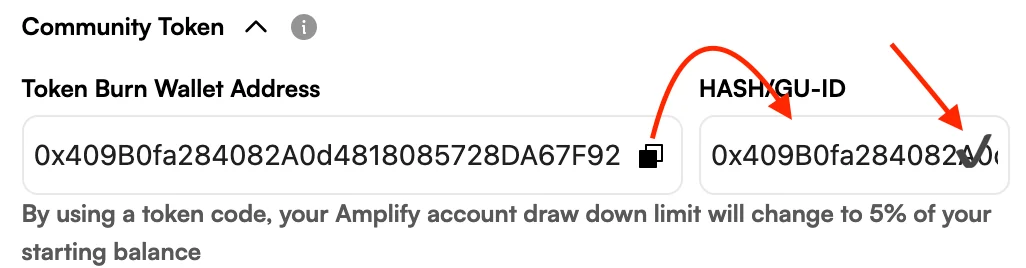
- The “HASH” field will appear on the right.
- Copy the hash, exactly as shown in the screenshot, and paste it into the field on the right.
- Confirm with “Submit”.
- In the “Invest” field, enter the amount you want to invest.
- Tick the two required confirmation boxes.
- Then click “Copy Now”.
Connect MetaTrader 5
MT5To follow all trades live:
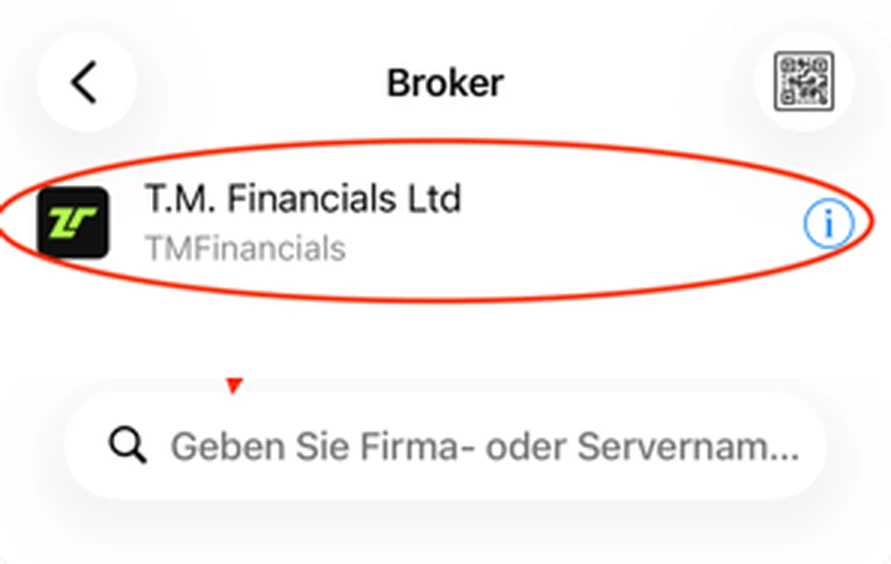
- Download the MetaTrader 5 (MT5) app and tap “New account”.
- Search for the following server: TM Financials Ltd.
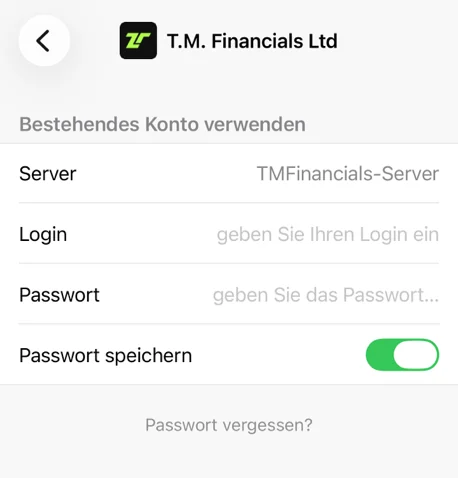
- Log in using the credentials shown in your new TAG Markets strategy: the account number (Login) and the master password (Master Password).
Withdrawing your money
WithdrawalYou can withdraw your money using the same methods you used to deposit. Withdrawals can be requested daily, and the processing time depends on the amount: some are instant, others can take up to 24 hours.
The simplest and fastest way to withdraw is through EpixPay https://epixpay.com/

The Art of Private Banking Fiat & Crypto
We offer a complete solution integrating traditional banking with blockchain and cryptocurrency for using, managing and transferring crypto and fiat internationally using cards, offshore bank accounts, and wallets. Compliance and widespread acceptance are simplified.
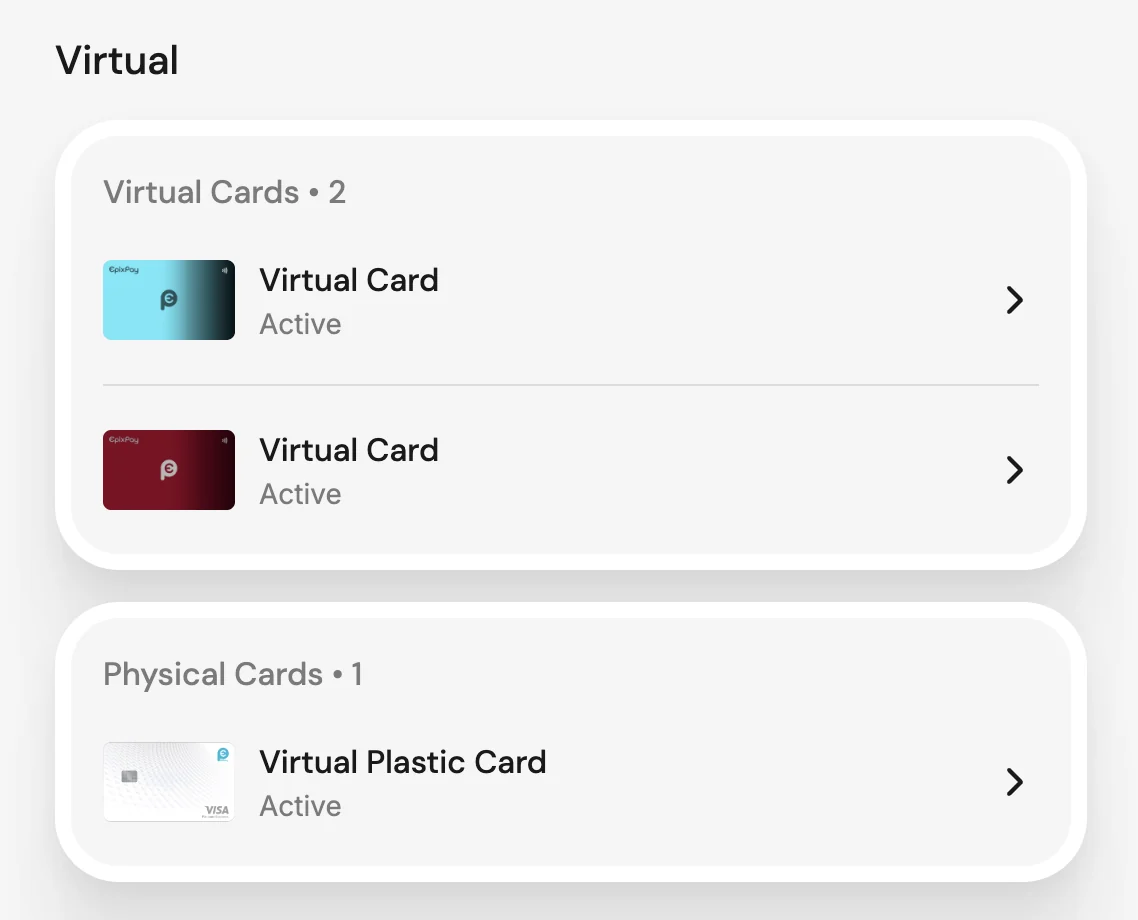
EpixPay cards are widely accepted, and you can top them up directly with crypto. When you transfer to the card, the bank automatically converts the crypto into FIAT, so you get a VISA card in USD, ready to use (see step 13).
11.1 Create your EpixPay account
- Sign up quickly on the website and get started.
11.2 Choose your plan and complete KYC
- Choose the Start plan (which includes the free virtual card).
- KYC: verify your identity quickly, with just an ID document, to unlock all features.
11.3 Go to Cards and choose your card
Choose between a free virtual card and a physical card, and it is ready to use once activated.
11.4 Activate your card
- Once the card has been purchased, go back into the Cards section, activate the card and you are good to go.
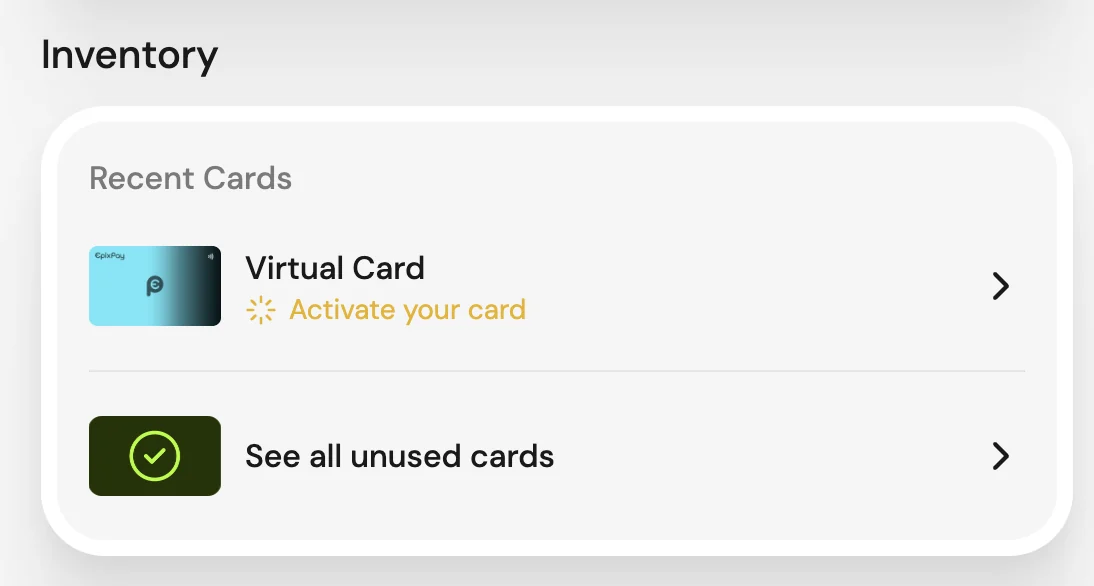
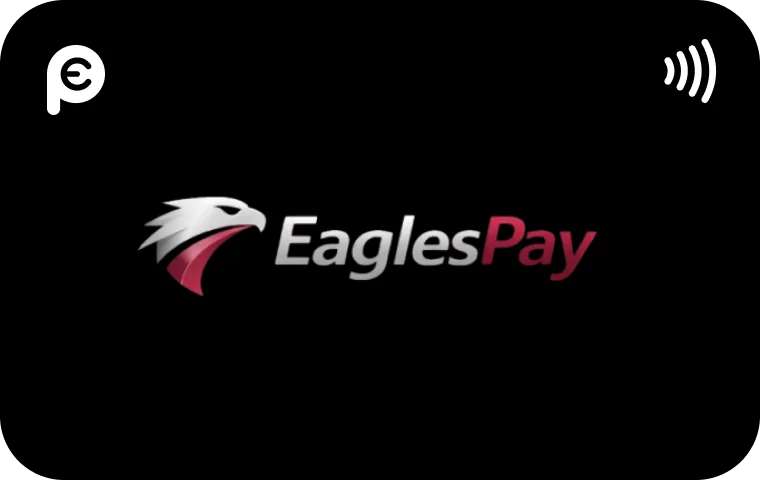
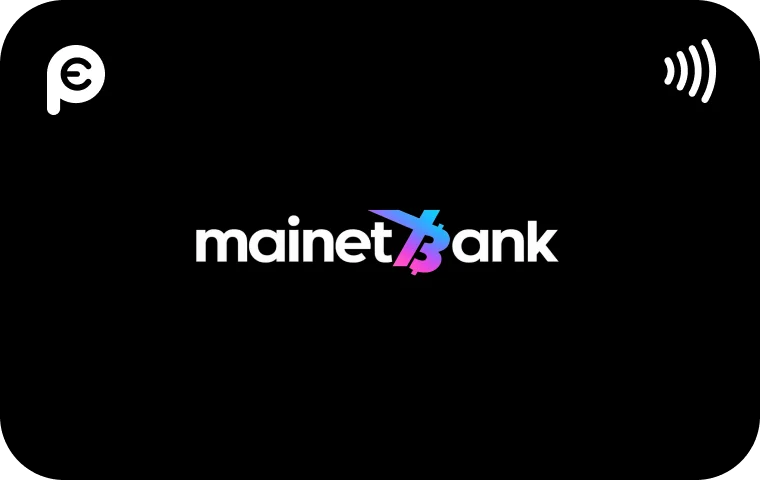
When activating your card, choose your preferred Co-Branded Skin from the list.



11.5 Get the wallet address to receive your profit
- In EpixPay, go to Wallets and tap Deposit.
- Make sure USDC · Polygon is selected.
- Copy the wallet address shown there.
- This address will be used in TAG Markets, in the next step.
Withdrawing your profit from TAG Markets
TAG MarketsTo withdraw your profit from TAG Markets, go to Tag Wallet:
https://portal.tagmarkets.com/en/dashboard/customer/my-wallet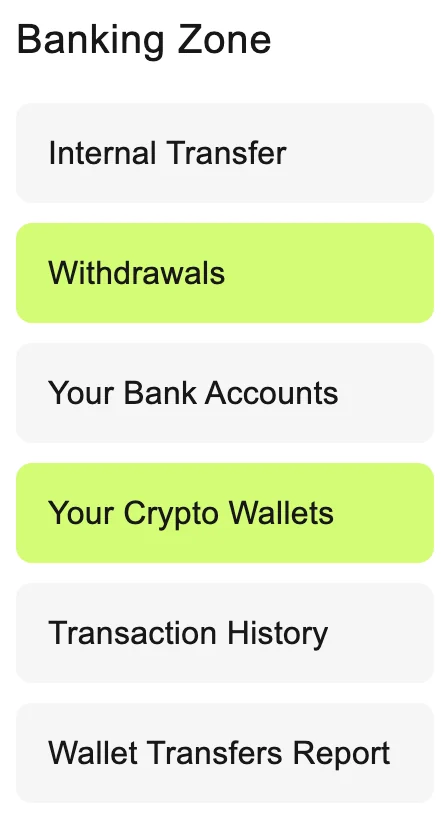
12.1 Add your EpixPay wallet address
- From Banking Zone, go to Your Crypto Wallets.
- Click Add a crypto wallet and choose USDC on the Polygon network.
- Enter the wallet address you got from EpixPay.
- Fill in the remaining details and save.
12.2 Submit the withdrawal request
- From the same menu, click Withdrawals.
- Enter the amount you want to withdraw and press Submit.
- Choose the wallet you saved earlier to receive the money.
The address from EpixPay is USDC on the Polygon network. Choose exactly the same currency and network in TAG Markets, otherwise the funds may be lost. After Submit, the funds arrive in your EpixPay account.
Once the funds have arrived in Wallets, you move them onto the card in four simple steps:
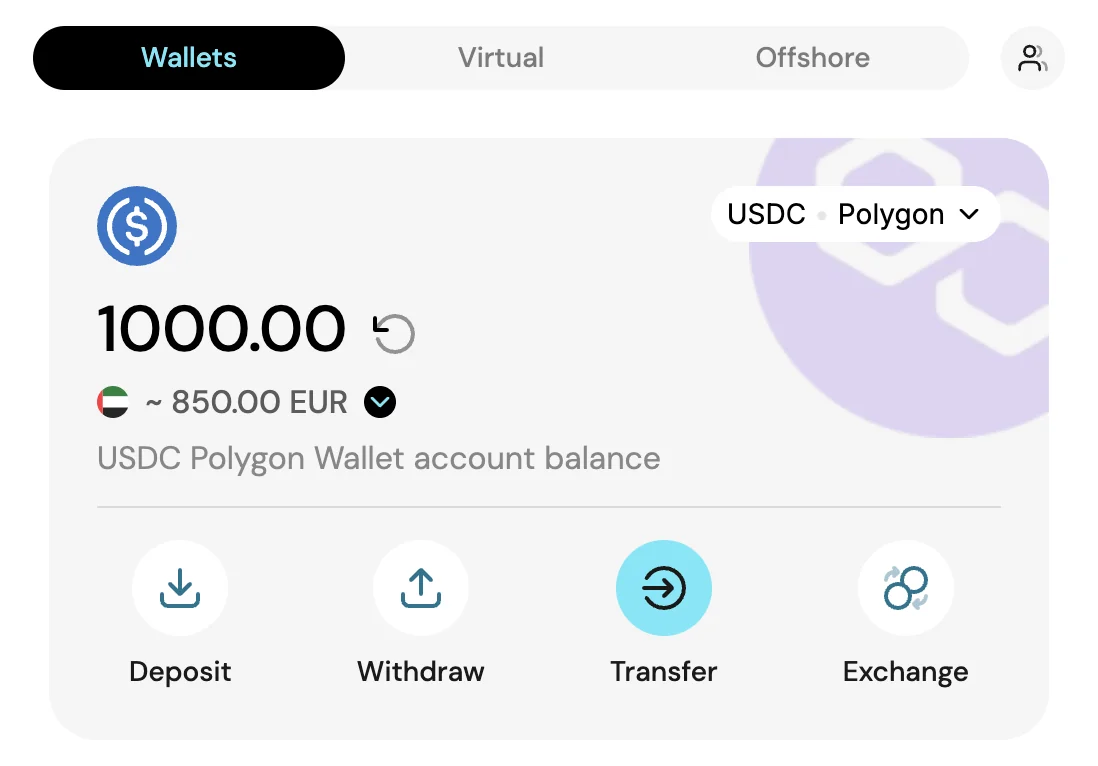
13.1 Tap Transfer
In Wallets, with USDC · Polygon selected, tap Transfer.
13.2 Choose the destination
Under To, choose My Account.
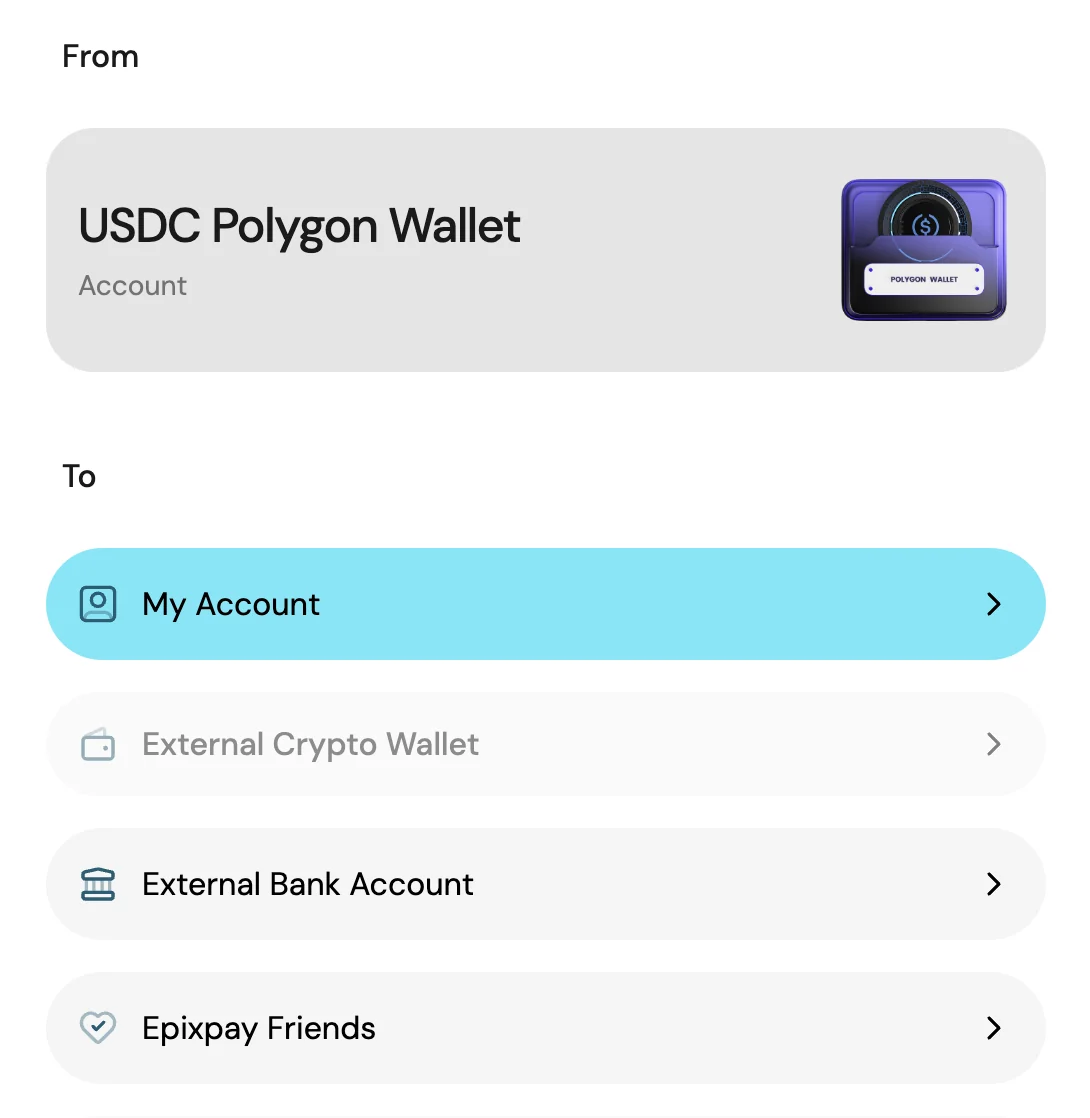
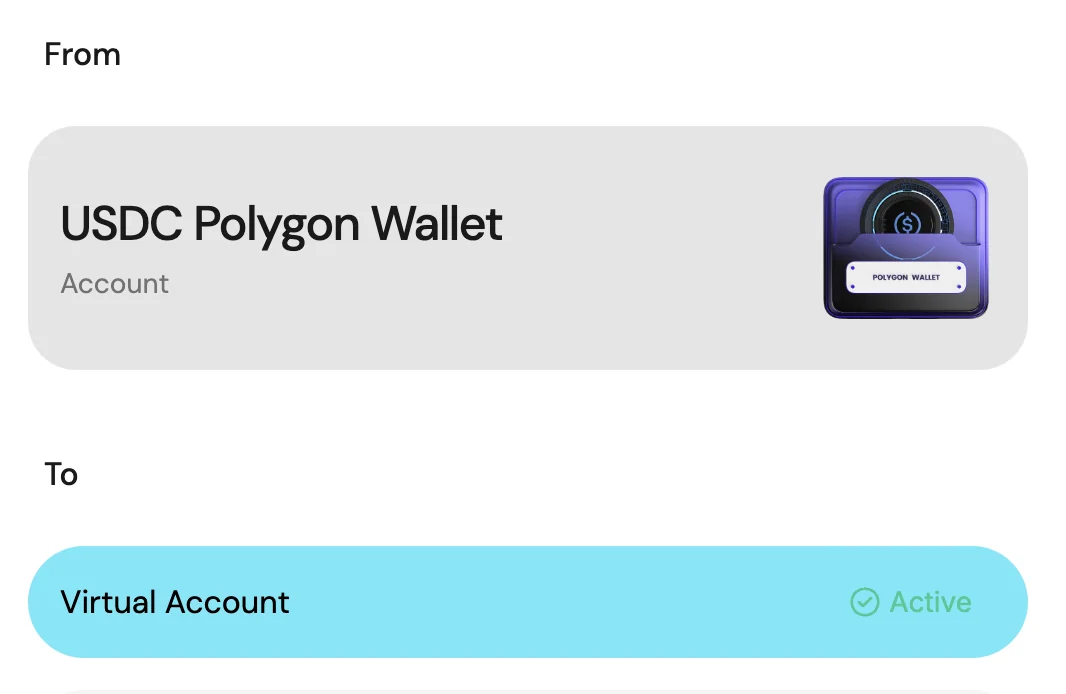
13.3 Select the receiving account
Choose Virtual Account (Active).
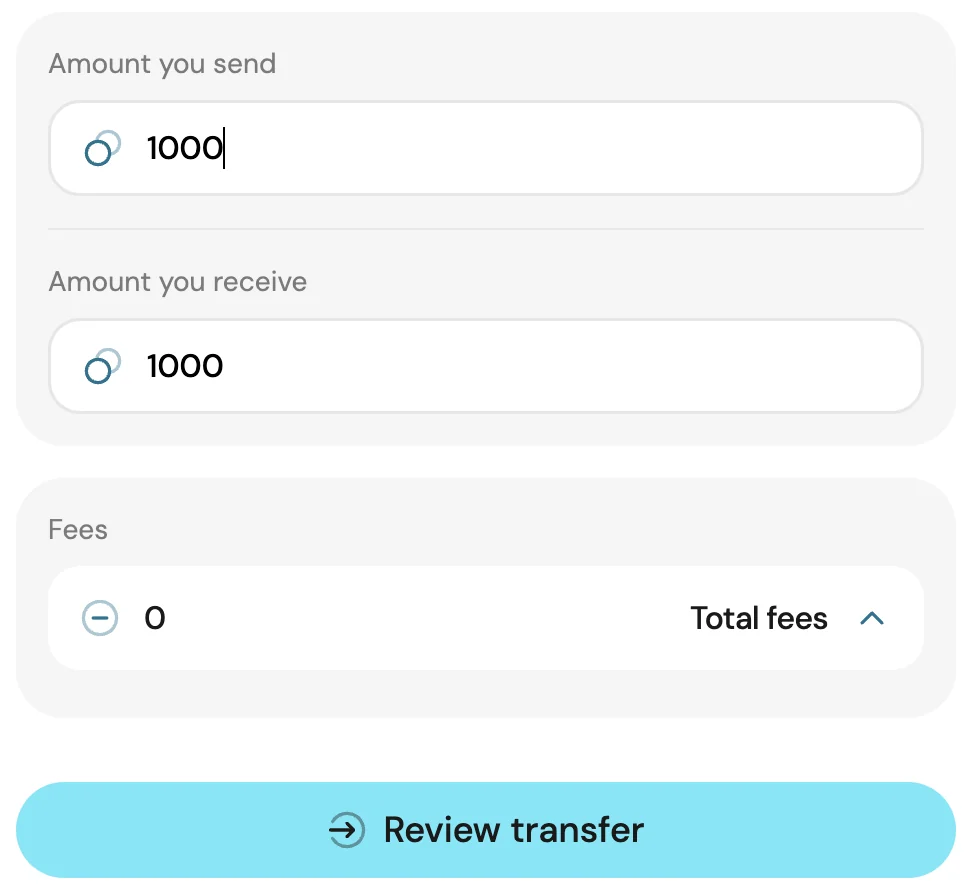
13.4 Enter the amount
Fill in the amount and tap Review transfer.
13.5 Completing the transfer
- After tapping Review transfer, check the details shown.
- Confirm the transfer on the details review page.
- The funds arrive on your card in less than 2 minutes.
All done!
You are now fully set up, connected to SONIC, and know how to withdraw profit to your card. Welcome!
Informational guide. Trading leveraged products carries the risk of losing your invested capital.